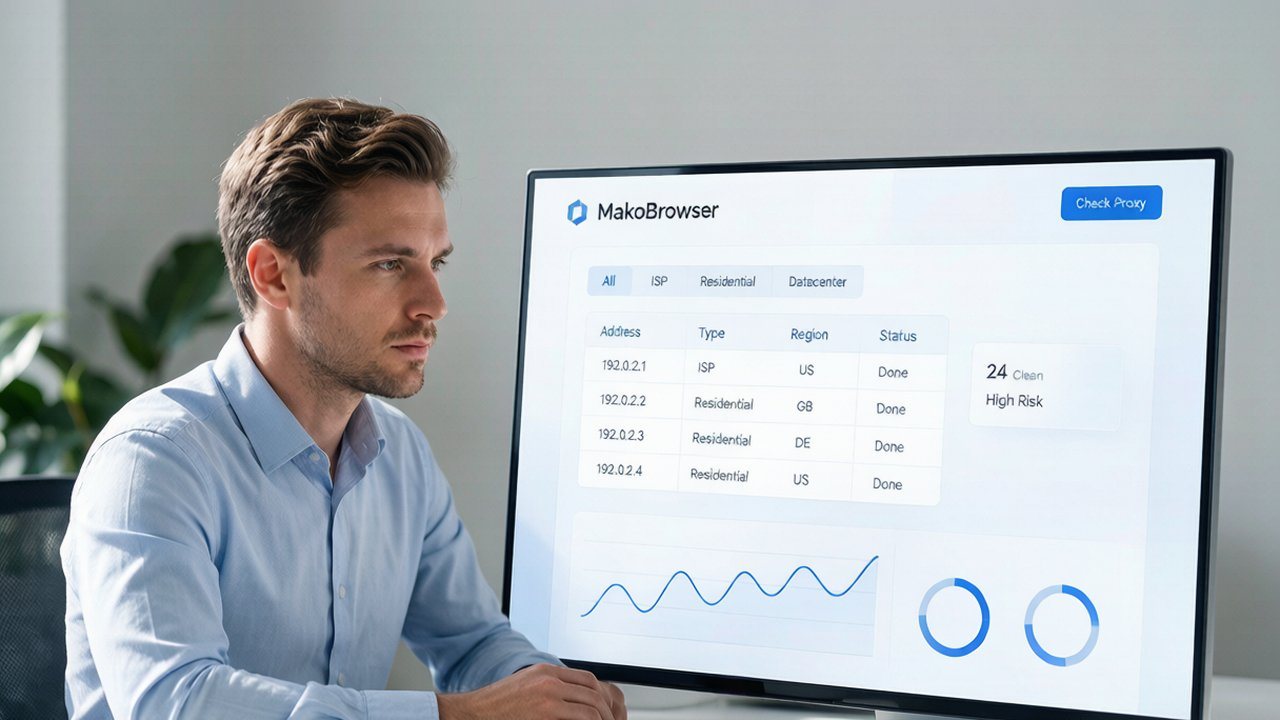
Think a New IP Makes You Safe? The Four Hidden Leak Channels and a One-Page Test
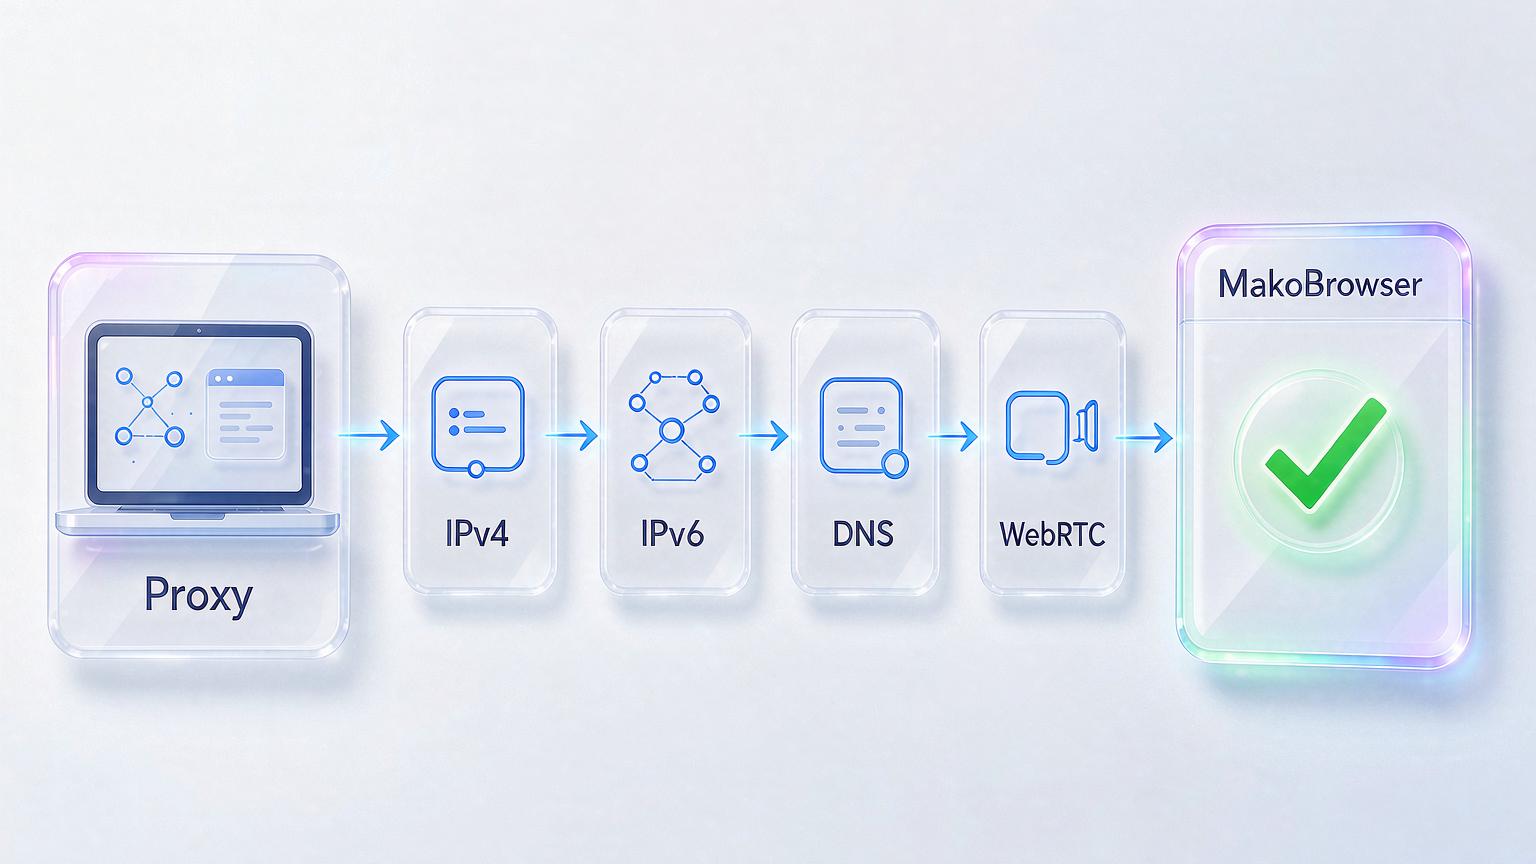
Here is the short version: running a proxy does not mean your real IP is actually hidden. Your address can escape through four channels — the connection itself, IPv6, DNS resolution and WebRTC. Leave any one of them open and the site you visit may still see where you really are. The good news: you don't need five or six tools to check. One web page covers everything in 30 seconds, and the fixes are a short, known list. This article walks through what to check, how to check it and how to fix it, and ends with a 30-second monthly routine for multi-account setups.
What an IP leak actually is: four channels, more than most people expect
An IP leak means you believe your traffic goes through the proxy, while your real IP or DNS requests reach the website through another route. A proxy or VPN is supposed to swap your real address for another one, but the system has more than one road that can expose it:
- Drop-back on disconnect. If the VPN drops for even half a second, traffic quietly falls back to your local network and the real IP lands straight in the target site's logs.
- DNS taking the old road. The browser's requests may go through the proxy, but domain resolution still uses the system default DNS, so your ISP can see every domain you look up.
- WebRTC opening a side channel. This protocol, built for audio and video calls, can establish a direct connection around the proxy, and a single page of JavaScript can read your local address.
- The IPv6 side door. Most proxies only take over IPv4. The moment a site loads an IPv6 resource, your real address slips out through the channel nobody is watching.
These four channels are a different problem from fingerprint consistency: a leak exposes the address itself, while inconsistency means your parameters contradict each other. Even a perfectly consistent environment gets voted down the moment the address leaks.
Test all four channels on one page: steps and how to read the results
Record your real baseline first, then switch protection on and compare item by item — if your real IP or real ISP appears anywhere on the page, that is a leak.
Step 1: record the baseline. Turn off the proxy and VPN, open ipleak.net, and write down the IP address and ISP shown at the top — that is the "real you" you are watching for.
Step 2: switch protection on. Connect your proxy or VPN and refresh the same page.
Step 3: check every panel. Go through all four blocks: IP address, DNS addresses, WebRTC and IPv6. The pass standard is one line: every panel shows the proxy address you chose, and the real IP and ISP from your baseline appear nowhere.
Three common false alarms: the browser cached an old page (reopen in an incognito window), a logged-in session carried your real identity (sign out of platform accounts before testing), and a system clock whose timezone doesn't match the proxy location (that is a fingerprint consistency issue, best checked alongside the test page). If you do find a leak, cross-check on browserleaks.com or iphey.com to rule out a false positive from the testing tool itself.
Who should run leak tests on a schedule
The people who need to treat leak testing as routine are the ones with real stakes riding on their accounts. See if you are on this list:
- Streamers and competitive players — if your real IP is caught mid-stream, a DDoS disconnect is the very next second.
- Content creators — a leaked IP is step one of doxxing, and the bigger your following, the stronger the motive.
- Ad account managers — one client's real IP mixed into 25 accounts, and the platform links them and bans the whole batch.
- Cross-border store-group sellers — multiple stores tied together by one real IP mean suspension and frozen funds at the same time.
- Data collection teams — anti-scraping systems specifically watch for real IPs leaking out of proxy tunnels; one leak and the whole task is wasted.
The common thread is clear: the cost of a leak is not "privacy anxiety" but dropped sessions, banned accounts, money and clients.
The fix checklist for each leak type
Every leak type has a matching fix. The tools are easy to find; the hard part is confirming they are actually on.
- Drop-back on disconnect: turn on your VPN's kill switch. It cuts the network the instant the VPN drops, so the real IP never gets a chance to surface. Privacy-first options like Mullvad, Proton VPN and IVPN are known for audited records, and mainstream products such as NordVPN, ExpressVPN and Surfshark offer the feature too — note that many clients ship with it off by default, so go into settings and confirm the switch.
- DNS leaks: switch to encrypted DNS, which also stops your ISP from reading your lookups. Go with Cloudflare 1.1.1.1 for speed, Quad9 for security filtering, or NextDNS if you want fine-grained per-device control.
- The IPv6 side door: either move to a VPN that explicitly supports IPv6 leak protection, or disable IPv6 directly in your network adapter — the latter takes a minute and works immediately.
- WebRTC: handle it in the browser. Firefox can disable it in about:config, Chrome needs an extension; if you don't want to fiddle with settings, switch to a browser that restricts WebRTC by default.
Multi-account setups: build leak protection into profiles, then run a 30-second monthly check
The more accounts you run, the less realistic manual checking becomes — aligning proxy, DNS and WebRTC at the browser-profile level is the only sustainable approach. With a VPN plus DNS changes plus browser extensions, every account needs its own assembly job, and one missed setting is one open channel. This is the idea behind fingerprint browsers like MakoBrowser: configure everything once at the profile level — each profile bound to its own proxy, with DNS and WebRTC aligned per profile. Whichever profile you open presents only that identity's network exit, and profiles never cross wires.
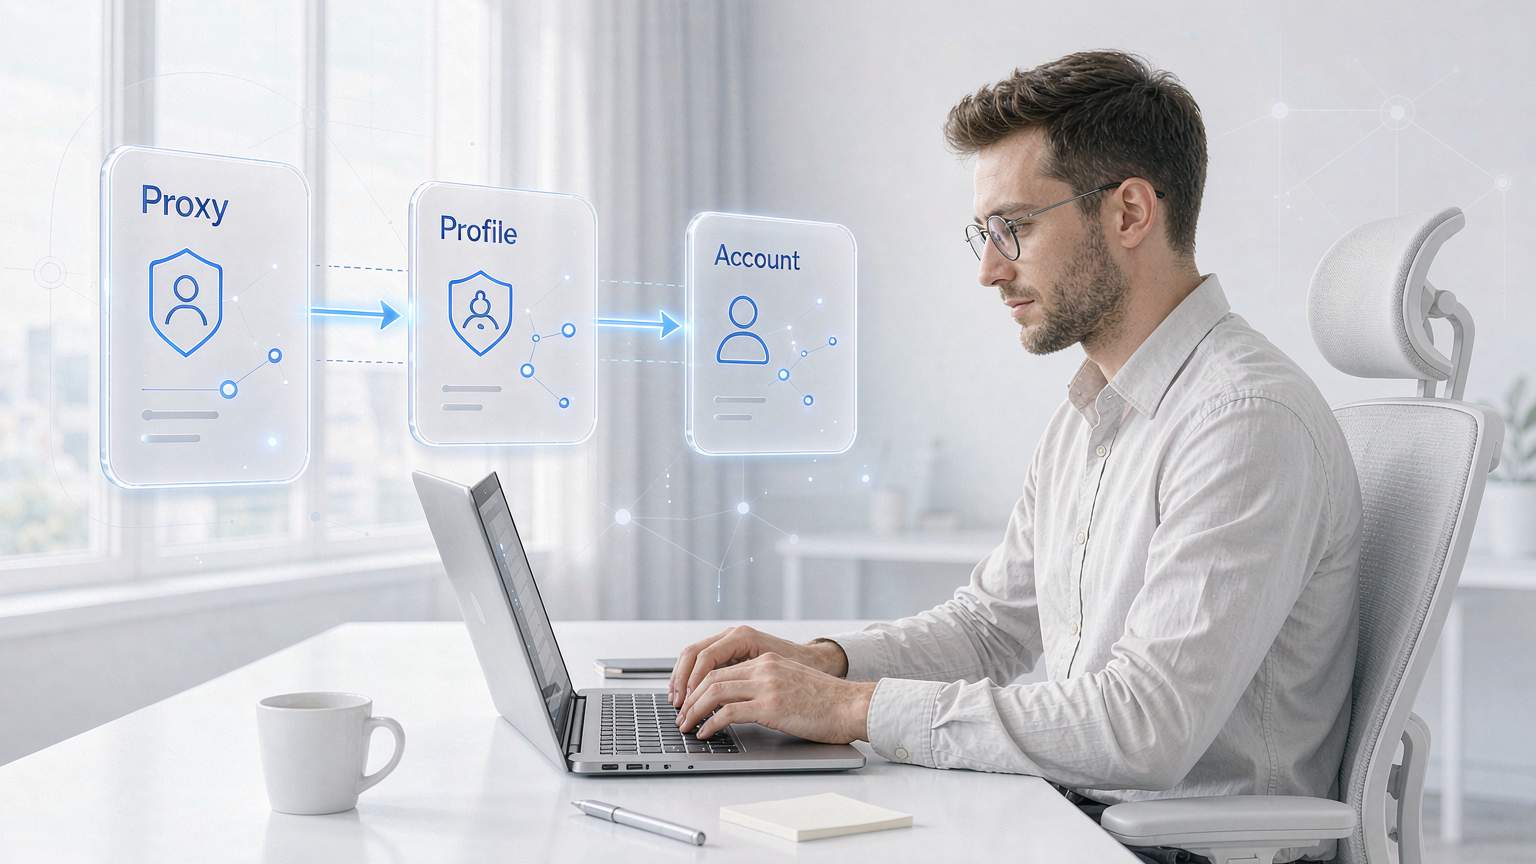
The broader multi-account workflow was covered in the anti-detect browser daily operations article; one thing worth repeating here is that channel isolation is the foundation of that whole workflow. After creating a profile, don't rush to use it — run the test page once inside the profile following the three steps above, and only start account warming once everything is green.
For daily maintenance, a 30-second checklist is enough:
- Connect the proxy and open the test page.
- Confirm no real IP, no real ISP, clean IPv6, clean WebRTC.
- Confirm the kill switch and encrypted DNS are still enabled.
- After a system update, a browser update or a network change, run one extra check.
If you plan to maintain each of these channels by hand, that works too; if you'd rather skip the per-item setup, download MakoBrowser and close every leak channel once, inside each profile.
Frequently asked questions
How do I know if I have an IP leak?
Fastest way: with the proxy off, open ipleak.net and note your real IP and ISP. Turn the proxy on and refresh. If your real address or real ISP shows up in any panel, that is a leak. The whole check takes under a minute.
Doesn't a VPN with a kill switch make leaks impossible?
A kill switch only covers one leak type: the moment the VPN disconnects. DNS, WebRTC and IPv6 are three independent channels that disconnect protection never touches, so each needs its own fix.
Do I need to re-test after changing networks?
Yes. A new network means a new router and new DNS settings, and the encrypted DNS you configured earlier may stop working. Test once after any network change; a monthly routine is enough otherwise.
Can an anti-detect browser prevent IP leaks?
A mature anti-detect browser aligns proxy, DNS and WebRTC at the profile level, so the leak surface is far smaller than a "VPN plus browser" combo. But no tool is an exemption from testing — run the test page once in a new profile before putting it to work.